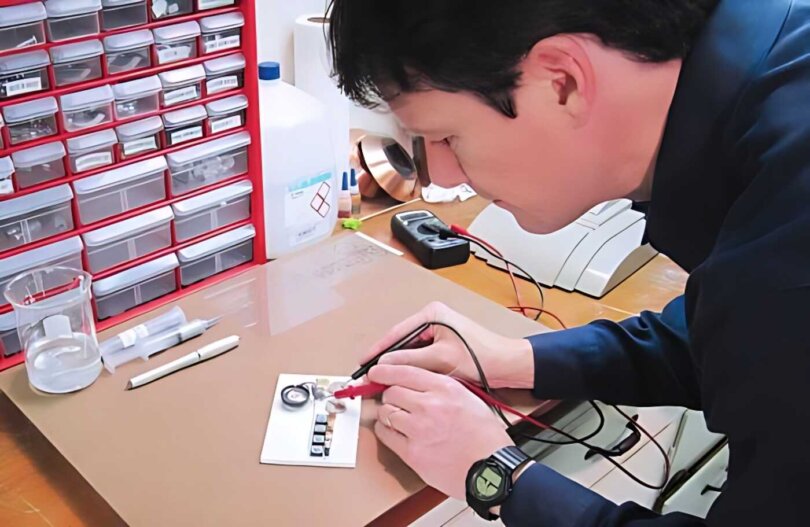
In recent years, conductive ink has gained popularity in the world of printed electronics and flexible device manufacturing. This special ink makes it possible to draw electrical circuits on various materials, such as paper, plastic or textiles, using simple tools such as pens or brushes.
If you are interested in creating your own circuits or experimenting with printed electronics, you can even make your own conductive ink at home. In this article, we will guide you through the process of creating homemade conductive ink using gallium and indium, and provide you with relevant and up-to-date information on their properties and applications.
How to make your own conductive ink: Materials and process
Before you begin, make sure you have the following materials on hand:
- Gallium (Ga) in liquid or solid form.
- Indium (In) in liquid or solid form.
- Demineralized water.
- A heat-resistant container (preferably glass).
- A heat source (such as a hot plate or water bath).
- A syringe without needle.
- A pen or brush to apply the ink.
As for gallium and indium, while they are not as readily available, you may be able to find what you need in your school labs.
Then follow these steps to create your homemade conductive ink:
- Mix gallium and indium in a ratio of 75.7% to 24.5%. This can be achieved by combining 75.7 grams of gallium with 24.5 grams of indium if you are using solid materials, or simply mixing the corresponding amounts if you are using liquid forms. Remember to wear gloves and protect your eyes during the process, as these metals can be dangerous if they come into contact with skin or eyes.
- Place the gallium indium mixture in the heat resistant container.
- Add enough demineralizedwater to the container to completely cover the metal mixture.
- Gentlyheat the mixture to a temperature of approximately 50 degrees Celsius. This will help the metals to mix evenly and form a liquid alloy.
- Once the mixture is completely liquid, remove the container from the heat source and allow it to cool slightly until you can safely handle it. Remember that the metal alloy will remain liquid at room temperature (around 20 degrees Celsius).
- Use the syringe to suck the metal alloy out of the demineralized water. You can use the same syringe to refill your pen or brush, or transfer the ink to a separate container for storage.
Properties and applications of homemade conductive ink
The homemade conductive ink created with this gallium indium mixture has several advantages over other commercially available conductive inks. First, it is highly conductive, with an electrical resistance of only 17 times that of copper. This means it is ideal for creating energy-efficient and energy-saving electrical circuits.
In addition, this conductive ink is relatively inexpensive to produce, costing approximately $1 per milliliter, provided you have access to the necessary materials. However, it is important to note that it does not dry like other inks, which may limit its use in certain applications.
Homemade conductive ink is particularly useful for students or professionals in the field of printed electronics, electrical engineering or flexible device fabrication. It can be used to create prototypes, conduct experiments or even produce small quantities of final products.
Conclusion
Creating your own conductive ink at home is an exciting and educational project that will allow you to experiment with printed electronics and flexible device fabrication. By following the steps outlined in this guide and using the right materials, you will be able to produce your own high-quality, low-cost home-made conductive ink. Always remember to take precautions when handling hazardous materials and follow best safety practices in your home lab. Good luck and have fun creating your own printed electrical circuits!
More information: IEEE Spectrum


